
Homeowners planning a renovation often ask how long tile installation really takes. With so many variables from room size to tile type, the answer is rarely simple. In the hands of an experienced crew, a standard kitchen backsplash or bathroom floor may only require a few days, but large-format tile or custom layouts can significantly extend the timeframe. Whether you’re updating a single room or managing a whole house remodel, understanding each phase of the process can prevent unnecessary delays and strain on your daily routine. Professional balcony tile installation ensures durability and weather resistance, transforming outdoor spaces into stylish and functional extensions of your home.
Key Factors That Affect Tile Installation Timeframes
No two tiling projects are exactly alike, which means the timeline can vary dramatically. Several primary factors will impact how long tile installation takes in a residential setting.
Size and Layout of the Space
Larger rooms obviously require more labor and materials, but the room’s configuration also plays a significant role. Open, square spaces are more straightforward and typically go faster than areas with nooks, built-in cabinetry, or numerous obstacles. Hallways and entryways may require intricate cuts and detailed border work, which adds hours to the installation process.
Existing Flooring and Subfloor Preparation
The condition and type of your existing surface can be one of the most unpredictable variables. Removing old flooring such as vinyl, wood, or carpet often adds a full day or more to the project. Concrete slabs require a different prep approach than wood subfloors, and issues such as unevenness, moisture, or cracking must be addressed before tile can be set. Moisture barriers or leveling compounds sometimes need extra drying time, complicating an otherwise straightforward timeline.
Tile Material and Pattern Complexity
Ceramic, porcelain, and natural stone all come with their own installation requirements. Some materials, like marble or travertine, demand more delicate handling and frequent cutting. Rectified or oversized tiles can speed up coverage but usually require a near-perfect subfloor and careful alignment. Complex patterns—herringbone, diagonal, or custom mosaics—require more time to plan and execute than a simple grid.
Grout and Cure Times
After tile is set, it’s important to allow proper cure and drying times for adhesive and grout. Rushing this phase can result in loose tiles, grout cracking, and water penetration issues down the road. Most adhesives require at least 24 hours to set before grouting. After the grout is applied, another 24–48 hours is often needed before the space can handle regular foot traffic or heavy fixtures.
Tile Installation Timeline Explained: What to Expect from Start to Finish
Understanding a typical installation schedule helps homeowners manage expectations and coordinate other renovation tasks. While each project varies, this general overview can clarify the stages involved in residential tile installation.
Pre-Installation: Planning and Procurement
Before work begins, you’ll need to finalize tile selection, arrange delivery, and confirm all necessary materials—adhesives, grout, underlayment—are on hand. Experienced contractors recommend padding your schedule to account for shipping delays, backorders, or product damage. Proper measurements and a detailed layout plan minimize on-site guesswork and material shortages.
Site Preparation
Day one generally involves removing furniture and appliances, followed by demolition of existing flooring if necessary. Repairing, leveling, and cleaning the subfloor is critical to a successful installation. If moisture or damage is present, drying or repairing may add a day or more to this stage.
Tile Laying
With prep complete, installers begin laying tile according to the planned pattern. Pros often start in the room’s center to maintain symmetry. Large-format tiles and standard squares move quickly, but smaller mosaics or intricate designs demand more cuts and dry-fitting. A skilled team can typically install 150–250 square feet per day in an uncomplicated space.
Grouting and Finishing Touches
Once laid, the tiles need time to set before grouting—usually overnight. Grouting itself takes a few hours, depending on the size of the area and grout type. Afterwards, surfaces are cleaned, and minor adjustments are made.
Post-Installation and Curing
No one wants to rush this critical phase. Heavier foot traffic, cleaning, or appliance relocation should wait at least 24–48 hours after grout is finished. For wet areas like showers, longer curing may be recommended by manufacturers.
When clients of TAMPA BAY FLOORS explore options on the company’s website tampabayfloors.us they will find that variables like underlayment materials, site prep, and pattern complexity can all affect installation schedules for projects ranging from kitchens to patios.
Preparing for a Smooth and Efficient Tile Installation
Preparation is crucial to streamlining any tile project and avoiding unnecessary complications. Taking proactive steps before installers arrive minimizes delays and ensures better results.
- Clear the area: Remove furniture, rugs, wall hangings, and appliances before work begins.
- Protect adjacent spaces: Dust and debris can travel, especially during demolition. Cover doorways and air vents, and consider relocating pets.
- Handle repairs in advance: Address any plumbing or electrical work, leaks, or structural issues before installation day.
- Communicate clearly: Review the layout, pattern, and material selections in detail with your installer to avoid misinterpretation.
- Confirm product arrival: Ensure all tiles, grout, and setting materials are delivered, inspected, and staged for use.
- Plan for downtime: Coordinate schedules to allow for cure times and limited access during the project.
- Expect the unexpected: Build a buffer into your renovation timeline for weather, material defects, or unforeseen complications.
During demolition, especially when old flooring like laminate must be removed, specialized services may be necessary. The company TAMPA BAY FLOORS provides dedicated support for thorough tear-outs via https://tampabayfloors.us/services/demolition/laminate-floors-removal which can significantly streamline the initial stages of your project.
Typical Installation Durations for Popular Tile Projects
While every home presents unique challenges, some reasonable average ranges help guide expectations for common tiling projects.
- Standard bathroom floor: 2–3 days (including prep, installation, and curing)
- Kitchen backsplash: 1–2 days
- Shower enclosure: 3–5 days (waterproofing and custom niches can add time)
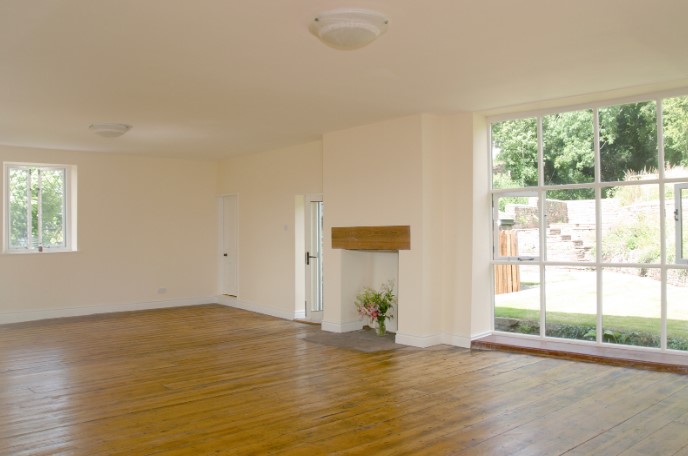
- Large open-concept spaces (e.g., living/dining rooms): 4–7 days
- Outdoor patio or balcony: 2–4 days, accounting for weather and substrate conditions
Specialty layouts, intricate mosaics, and premium natural stone can extend these timelines. Conversely, straightforward layouts with modern setting materials may move a bit faster. Discuss timing in detail with your installer, and seek references on past projects to set realistic goals.
Conclusion: Strategic Planning Ensures Successful Tile Projects
With accurate expectations and proper preparation, tile installation can proceed smoothly within a well-defined timeline. Proactive planning, material selection, and expert craftsmanship ensure that your upgraded floors, walls, or outdoor areas deliver both beauty and durability for years to come.